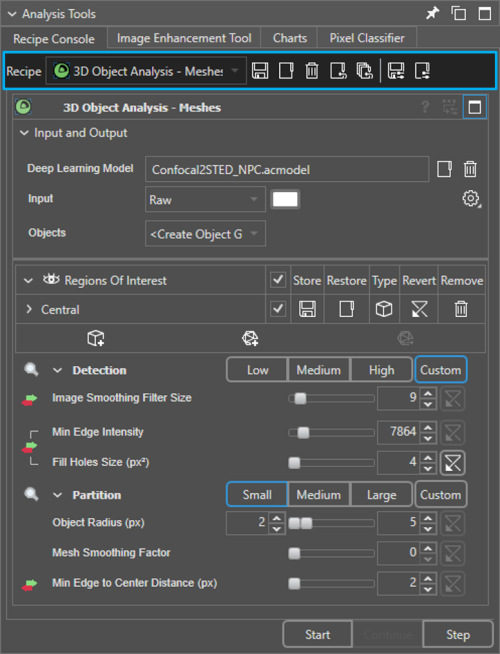
Console Controls section
The Console Controls section allows you to select recipes, load and save existing recipes, and load and save recipe settings. All recipes that come with your installation of Aivia can be found in the Recipe dropdown menu.
There are seven (7) buttons for recipe options, which are summarized in the table below.
| Name | Icon | Description | ||
|---|---|---|---|---|
| Save Recipe |
| Saves the current recipe and settings to a file | ||
| Load Recipe |
| Loads a recipe from a file | ||
| Delete Recipe |
| Removes the current recipe from the recipe list and the Recipe Console; this does not delete the recipe from its file | ||
| Reload Recipe |
| Reloads the current recipe to its initial configuration | ||
| Restore Standard Recipes |
|
Restores the standard recipes that come with your installation of Aivia and removes all other recipes from the Recipe Console; this does not delete recipes from their files | ||
| Save Settings |
| Saves the recipe settings to an XML file | ||
| Load Settings |
| Loads recipe settings from a compatible XML file |


|
| Console Controls section of the Recipe Console interface |
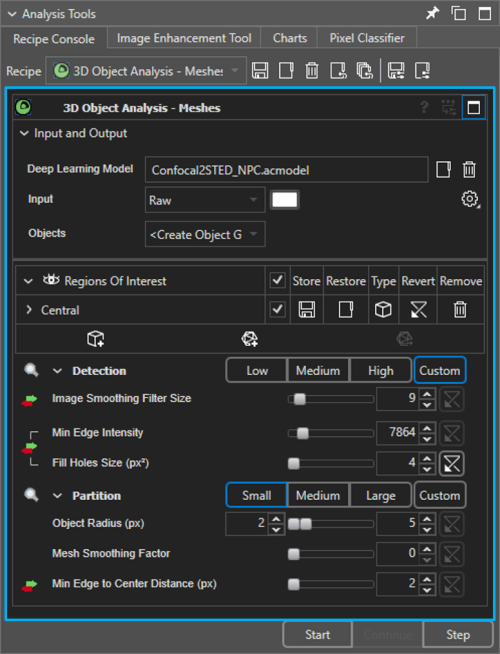
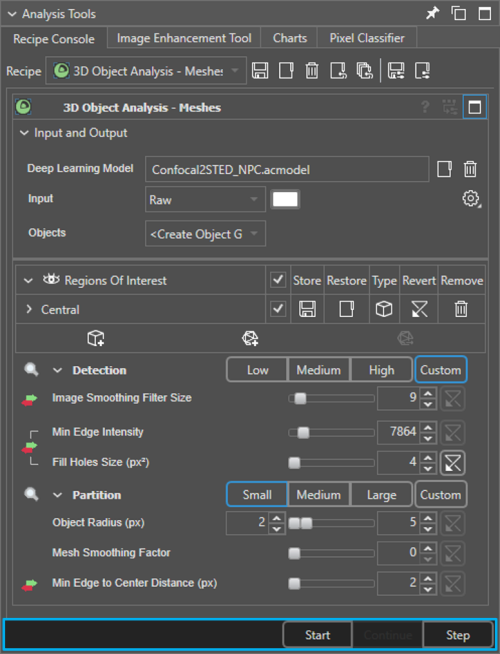
Recipe Settings section
When you select a new recipe, the Recipe Settings section refreshes to show the settings that are available for the selected recipe. This section is further broken down into three sections: Recipe Header, Input and Output, and Preset Groups.
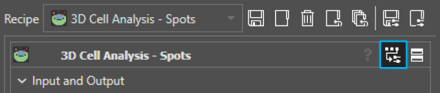
The Recipe Header displays the recipe name and controls for expanding/collapsing the recipe interface. For some recipes, the question mark icon is active and can be used to open a description of the recipe. Also for only some recipes, the Automatic Parameter Selection button can be used to automatically determine a set of reasonable parameters for the current image and specified input and output options for the recipe.
|
| Automatic Parameter Selection button |
The Input and Output section lets you specify the input and output locations for analysis, regions of interest (ROIs) for images that have more than one z-plane, and deep learning models to use for pre-processing. When a deep learning model is specified in the Input and Output section, the model is applied to the specified input channel(s), and then the output image(s) from the deep learning model is/are fed into the selected recipe.
| Info |
|---|
Several deep learning models can be downloaded from our Deep Learning Model Library. You can also train your own models with Aivia Cloud. |
The Preset Groups section allows you to manipulate the analysis parameters and preview results.
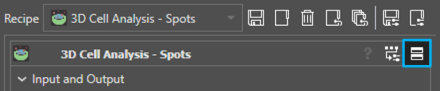
To expand any of the sub-sections in the Recipe Settings, click on the rightward or downward pointing caret next to the name of the sub-section. You can also toggle the display of all recipe preset groups to show the analysis parameters by clicking on the Show Advanced Options button on the right side of the Recipe Header.
|
| Show Advanced Options button |
|
| Recipe Settings section of the Recipe Console interface |
Apply Controls section
The three (3) buttons located at the bottom-right corner of the Recipe Console allow you to apply the current recipe to the displayed image. The apply options are as follows:
- Start/Restart applies the recipe from the first frame of the image.
- Pause/Continue allows you to temporarily stop recipe processing and then resume processing.
- Step applies the recipe one time frame forward.
| Info |
|---|
Not all the apply control options are available at all times. |
Using the Recipe Console
The typical workflow for using the recipe console is as follows:
- Load an image to use with the analysis recipe.
- Select a recipe to apply or load a recipe from a file.
- Adjust the recipe settings using the recipe presets or by adjusting individual parameters.
- Preview the output while adjusting the recipe settings.
- Apply the recipe to the image once you are satisfied with the preview.
Detailed information on how to use the Recipe Console can be found on the How to use the Recipe Console page as well as in the Tutorial sections of the individual recipe pages.
|
| Apply Controls section of the Recipe Console interface |
Related articles
| Filter by label (Content by label) | ||||||||||||||||||
|---|---|---|---|---|---|---|---|---|---|---|---|---|---|---|---|---|---|---|
|
| Page Properties | ||
|---|---|---|
| ||
|