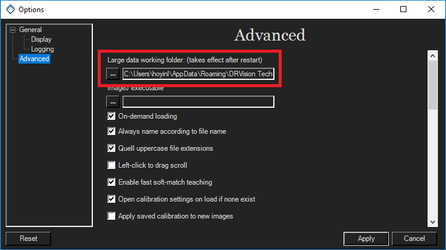
Define large working folder
When working with datasets that are larger than the amount of memory (RAM) available on the computer, Aivia will load and pre-cache image data on your hard drive into the large data working folder for quick retrieval. The data cache is emptied when exiting Aivia.
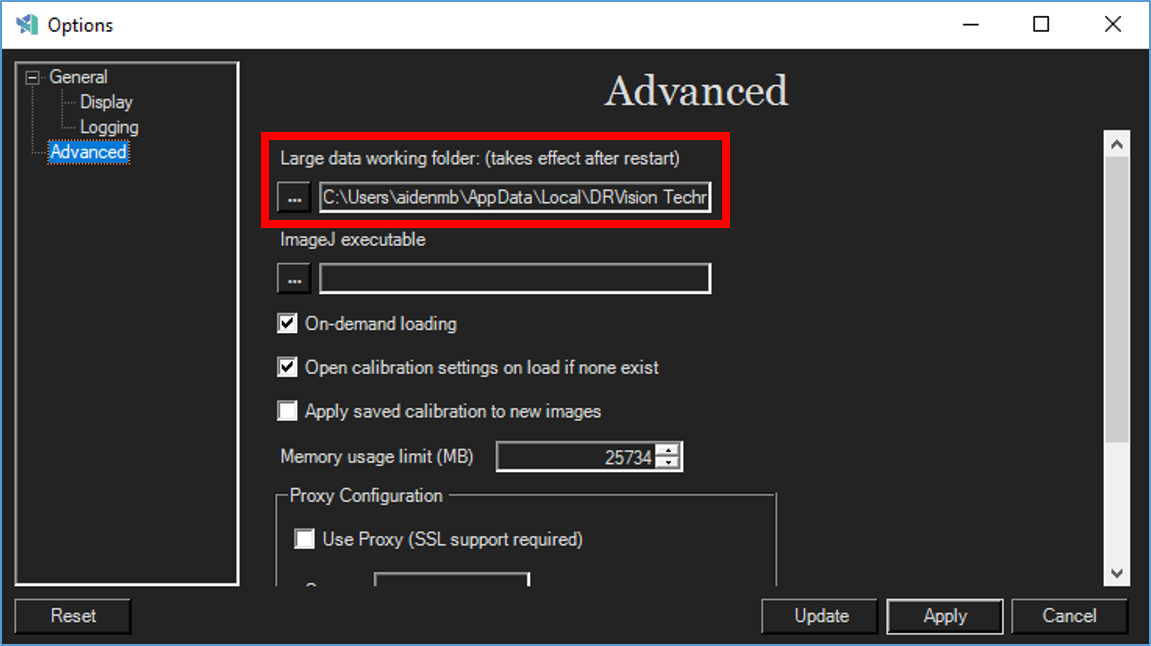
- Go to File > Options to launch the Aivia options dialog
- Go to Advanced in the options dialog
- Click on the ... button to the left of the directory path below Large data working folder
- Select a folder location with ample free disk space and fast access in the pop-up dialog; we recommend using a high-capacity solid state drive (SSD) connected locally if possible. By default, the large data working folder can be found in %appdata%\DRVision Technologies LLC\Aivia 6\.
- Click Select Folder to update the file path
- To update the settings, click Apply at the bottom of the Options window; you must restart Aivia for the settings to take effect.
 |
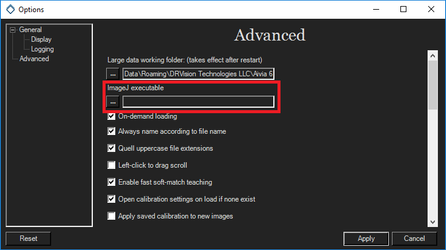
Define ImageJ executable
Aivia uses BioFormats from ImageJ/FIJI for file types that are not supported natively (see here for a list of supported file formats). Defining the location of your ImageJ/FIJI executable will allow Aivia to launch ImageJ/FIJI automatically when needed.
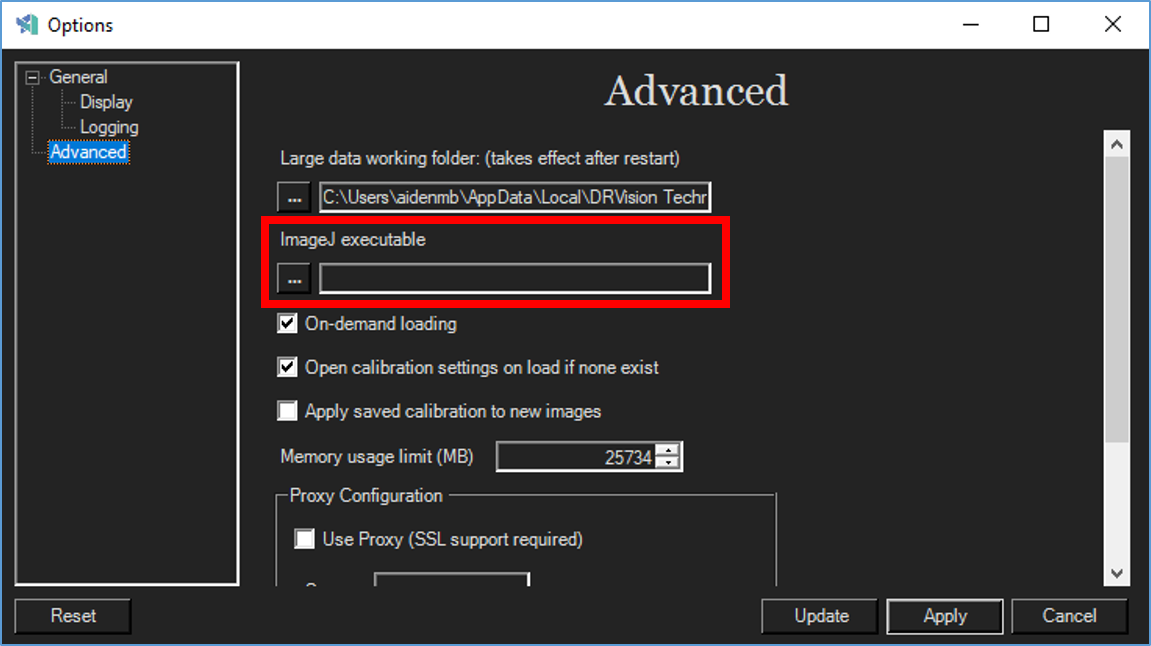
- Go to File > Options to launch the Aivia options dialog
- Go to Advanced in the options dialog
- Click on the ... button to the left of the directory path below ImageJ executable
- In the pop-up dialog, navigate to the location of your ImageJ/FIJI program executable. If you have FIJI installed, the executable will typically be located in a folder called Fiji.app. For better performance, we recommend using a 64-bit installation of ImageJ/FIJI
- Click Open to define the location of your ImageJ/FIJI installation
- To update the settings, click Apply at the bottom of the options window
| Info |
|---|
| After you modifying modify the settings, make sure you restart Aivia in order for the new settings to take effect. |
 |
Related articles
| Filter by label (Content by label) | ||||||||||||||||||
|---|---|---|---|---|---|---|---|---|---|---|---|---|---|---|---|---|---|---|
|
| Page Properties | ||
|---|---|---|
| ||
|